With the new vector editor, you can design any kind of shapes and basic illustrations for the website, as well as refine imported SVG files.
Find out more 👉 https://blog-en.tilda.cc/vector-element-in-zero-block
Key Tools:
Draw (D)
This tool allows you to draw an element. You can draw with straight and curved lines. If you want to draw an open shape, use ESC or double-click on the final point of the drawing. If you close the shape, the drawing is automatically completed and you switch to the Select tool.
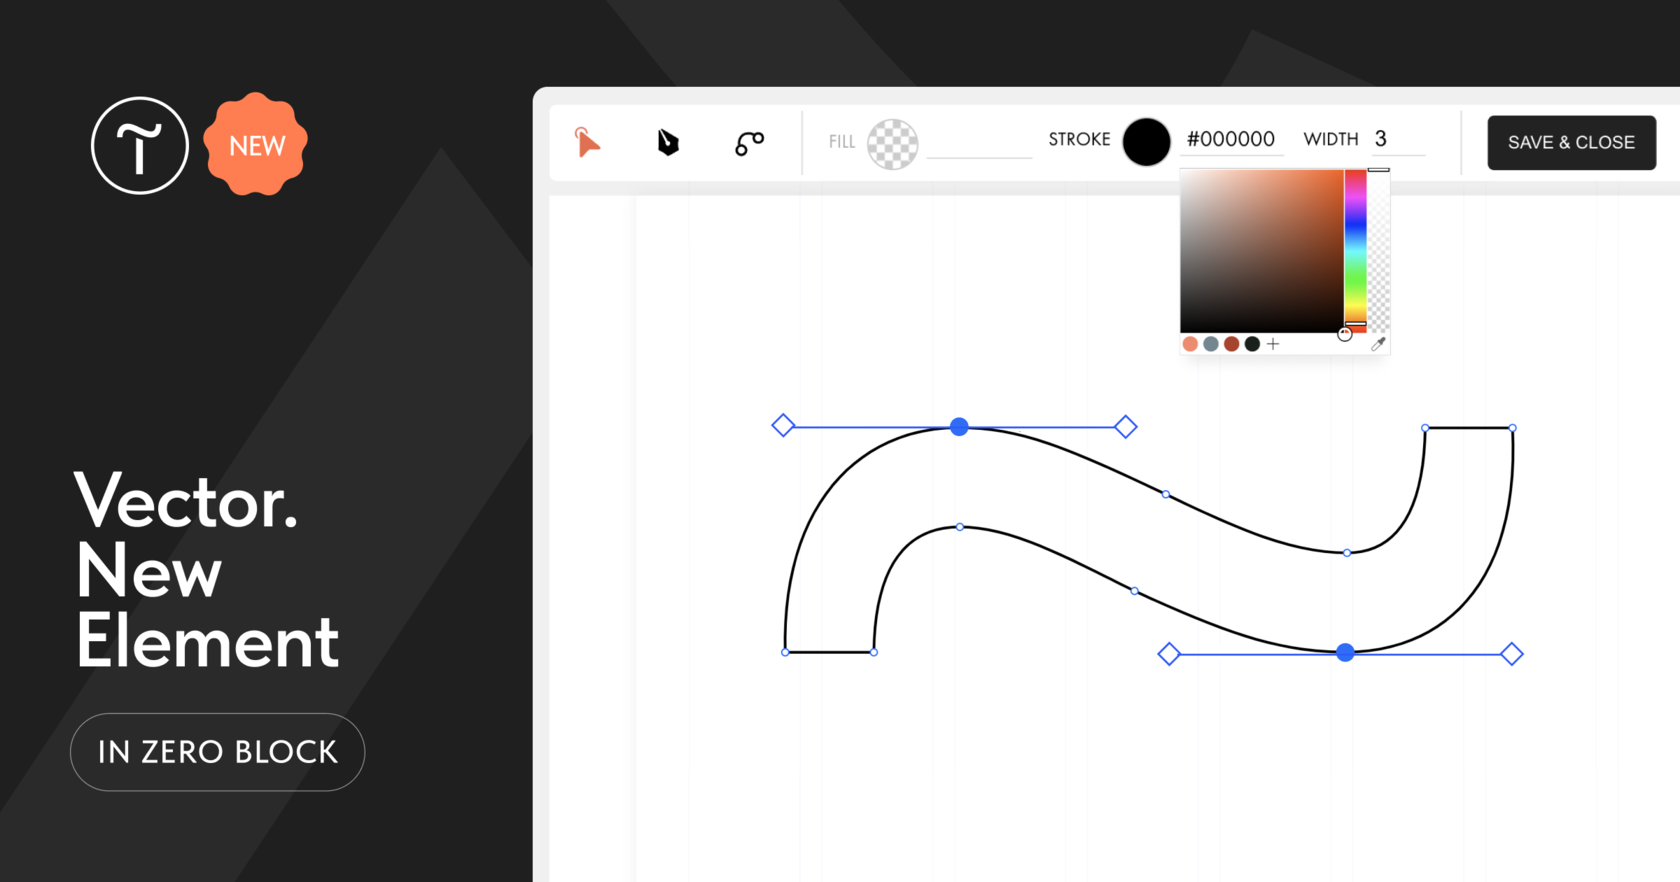
Select (S)
Using the Select tool, you can specify the fill and stroke color, as well as the stroke width. You can also move, rotate, and zoom in and out your drawing as a single vector element using this tool.
Edit (E / double-click on the element)
The Edit tool allows you to modify vectors using anchor points, segments, and Bezier curves. Modify vectors using anchor points, segments, and Bezier curves. Double-click on a point to round or sharpen the edge and right-click to open the context menu.
Bend (B)
Use the Bend tool to curve existing lines and work with anchor points. This tool is for vector outline modifications—design parameters can be adjusted using the Select and Edit tools.
Importing SVG Files
Right-click on the artboard and select "Import SVG here" in the context menu. For a smooth experience, it is recommended to upload SVG files no larger than 20KB.
Learn more about Tilda’s vector editor settings in our Help Center 👉 https://help.tilda.cc/zero-block-vector-editor
✨ The vector editor is a great tool if you want to create unique shapes, free icons, or small drawn elements, such as underlines or arrows. It can also be easier to improve an imported SVG element directly on Tilda.
Find out more 👉 https://blog-en.tilda.cc/vector-element-in-zero-block
Key Tools:
Draw (D)
This tool allows you to draw an element. You can draw with straight and curved lines. If you want to draw an open shape, use ESC or double-click on the final point of the drawing. If you close the shape, the drawing is automatically completed and you switch to the Select tool.
Select (S)
Using the Select tool, you can specify the fill and stroke color, as well as the stroke width. You can also move, rotate, and zoom in and out your drawing as a single vector element using this tool.
Edit (E / double-click on the element)
The Edit tool allows you to modify vectors using anchor points, segments, and Bezier curves. Modify vectors using anchor points, segments, and Bezier curves. Double-click on a point to round or sharpen the edge and right-click to open the context menu.
Bend (B)
Use the Bend tool to curve existing lines and work with anchor points. This tool is for vector outline modifications—design parameters can be adjusted using the Select and Edit tools.
Importing SVG Files
Right-click on the artboard and select "Import SVG here" in the context menu. For a smooth experience, it is recommended to upload SVG files no larger than 20KB.
Learn more about Tilda’s vector editor settings in our Help Center 👉 https://help.tilda.cc/zero-block-vector-editor
✨ The vector editor is a great tool if you want to create unique shapes, free icons, or small drawn elements, such as underlines or arrows. It can also be easier to improve an imported SVG element directly on Tilda.
